| HyperText Basics |
In this section, you will learn the basics of working with links on a HyperText component.
This topic contains the following sections:
One major feature of HyperText is the ability to react to different pointer events over individual words. This tutorial will familiarize you with the basics of writing code that can interact with these events.
Prepare the Scene
Create a new, empty scene.
Navigate to GameObject -> UI -> Candlelight -> HyperText in the main menu.
Set the Position of the HyperText object's Rect Transform component to (0, 0, 0).
 Note
NoteYou should now see some text in the middle of your canvas that says New HyperText. The word HyperText should be blue, and should have a magenta box around it in the scene view with the word link inside it. This box shows you the hit box region for pointer events for the link. If you wish to disable this hit box preview in the scene view, you can do so in the Unity Preferences window:
- OS X: Unity -> Preferences -> Candlelight -> HyperText
- Windows: Edit -> Preferences -> Candlelight -> HyperText
Change the Alignment on the HyperText component to center (both vertically and horizontally).
Change the Text value of the HyperText component to <a name="attack">Attack</a> or <a name="defend">Defend</a>.
NoteNotice that the link identifiers in the hit box previews in the scene view now say attack and defend instead of link. The label in the scene view always matches the value of the name attribute contained in the <a> tag.
Select the Canvas GameObject in the scene and set the Scale Factor value of the Canvas Scalar component to 5 to increase the size of the text on the canvas.
Navigate to GameObject -> UI -> Image in the main menu.
Set the Position of the Image object's Rect Transform component to (0, -32, 0) and set its Width and Height both to 25.
Disable the Image component using the checkbox in the inspector.
 Caution
Make sure you are disabling the Image component and not its GameObject.
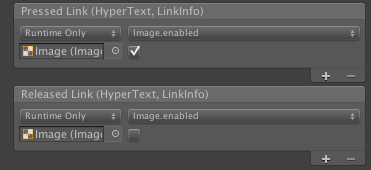
Select the HyperText object and scroll down to the Events section at the bottom of its inspector.
Click the + button on the Pressed Link control to add a new event. Drag the Image object from the hierarchy view into the object field that says None (Object). In the drop-down that says No function, select Image -> bool enabled and then enable the checkbox that appears beneath it.
Repeat the previous step for the Released Link control, but instead leave the checkbox beneath the drop-down unchecked (see below).
Press play! The words Attack and Defend should highlight when under your cursor. Pressing either one will make it appear darker and will make the white image appear. Releasing the mouse button will make the image disappear.
HyperText with Empty Image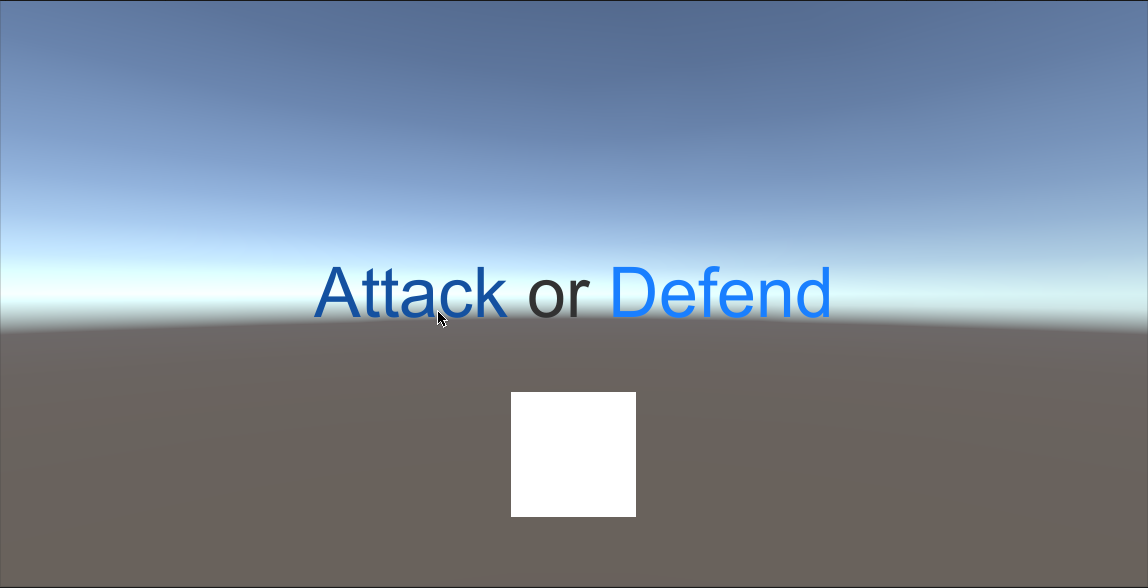
Create Event Listener
Create a new C# script (Assets -> Create -> C# Script) and call it AttackOrDefend. Paste the following contents into it:
AttackOrDefend.csusing UnityEngine; [RequireComponent(typeof(UnityEngine.UI.Image))] public class AttackOrDefend : MonoBehaviour { [SerializeField] private Sprite m_AttackSprite; [SerializeField] private Sprite m_DefendSprite; public void OnPress(Candlelight.UI.HyperText hyperText, Candlelight.UI.HyperText.LinkInfo info) { UnityEngine.UI.Image image = GetComponent<UnityEngine.UI.Image>(); if (image == null) { return; } switch (info.Name) { case "attack": image.sprite = m_AttackSprite; break; case "defend": image.sprite = m_DefendSprite; break; default: image.sprite = null; break; } } }
Add the AttackOrDefend component to the Image object.
In the inspector for the AttackOrDefend component, click the small circle to the right of the Attack Sprite field to bring up the object picker and select the included icon_atk sprite.
Repeat the previous step to assign the icon_def sprite to the Defend Sprite field.
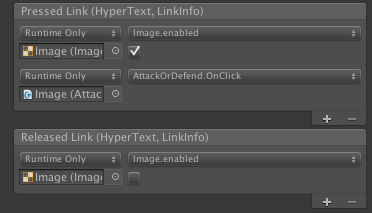
Select the HyperText object and add a new action to the Pressed Link event. Drag the Image object from the hierarchy view into the object field and select AttackOrDefend -> OnPress from the function drop-down.
Press play! Clicking on either word should now not only make the image appear, but should display the sword sprite for the word Attack and the shield sprite for the word Defend.
HyperText with Context-Sensitive Icons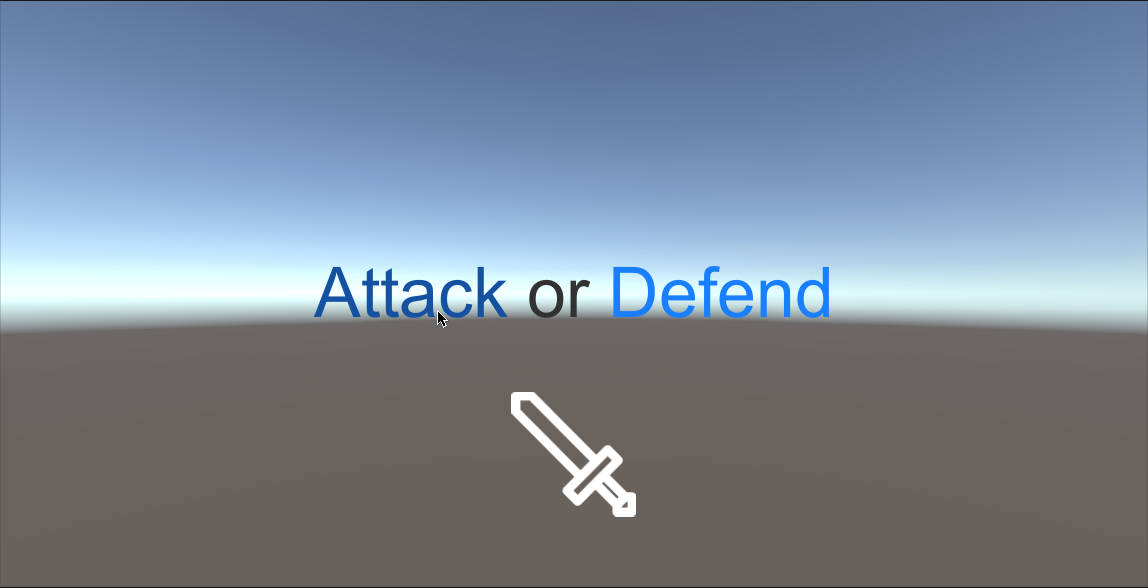
General
HyperText components act like a combination of built-in components in many ways. Just like the built-in Text component, the font size used to render HyperText objects will adjust according to the settings on the Canvas Scalar component to keep text from becoming blurry on higher DPI devices. Like the built-in Button component, you can subscribe to different pointer events from the inspector with either static, preconfigured calls or with dynamic calls that send arguments via code (or any combination of the two).
Similar the built-in Button component, HyperText also exposes an Interactable property. When this property is set to false, links will not invoke any callbacks, and will have a special color applied to indicate they are disabled.
Syntax
The minimum syntactical requirement for links on a HyperText component is that the opening <a> tag must have a name attribute, the value of which is some string enclosed in quotation marks. This name uniquely identifies the link in the text, and is sent to subscribing delegates via the HyperTextLinkInfo structure.
URL Patterns
Version 1.8.4 added an OpenURLPatterns property to the HyperText component. When you enable this property, any link whose name attribute is a valid http URL pattern will automatically become a link that launches the specified URL in a browser window.